
Then to create a slideshow you can uplaod photos directly from your computer or allow access from to your Flickr sets.
 I decided to upload from my computer- it took a little while to upload all the photos but I have lots of other work to do while I waited!
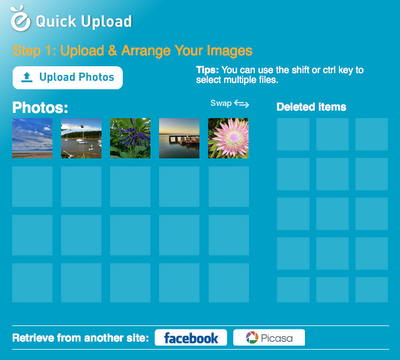
You can then arange your photos or delete them if you change your mind. Then hit NEXT.
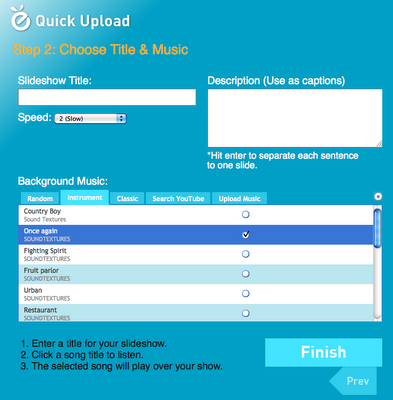
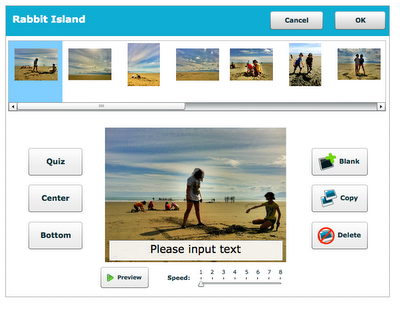
Add a title. Then you can either choose their music or search YouTube sound tracks to play the sound track you would like. You can add captions just by clicking on the playing photo.
If you click on edit photos you can also make a cute little quiz with Photopeach.
Now you can embed it in your blog. To get the html embed code hover over the playing movie and you will see a pencil shape. Click on it and you will be prompted to allow public viewing. You get two kinds of embed- the spiral and the story. The story is better!
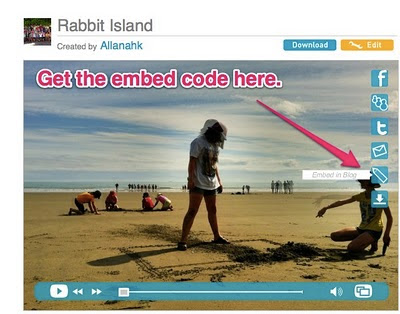
The embedded slideshow sits perfectly inside Blogger. To post the html embed code make sure you copy it into the html tag on your blog post.
If you want to have no comments on your Photopeach slide show make the show and then edit it and manage the comments- changing it to no comments and save the changes.
This is what the finished thing looks like....
Noticed in early 2016 that when you go to embed the Photopeach into Blogger you get an error message and it times out. All you have to do is dismiss the error message and post like you would normally do.
Here is a little video to make that clear.


2 comments:
thanks for this guide (and pointing me towards photopeach from Twitter)
Have linked to this from the Whiteboard Blog (www.whiteboardblog.co.uk)
Fantastic thanks heaps for this. Is there a way to block people from commenting on the slideshow?
Post a Comment